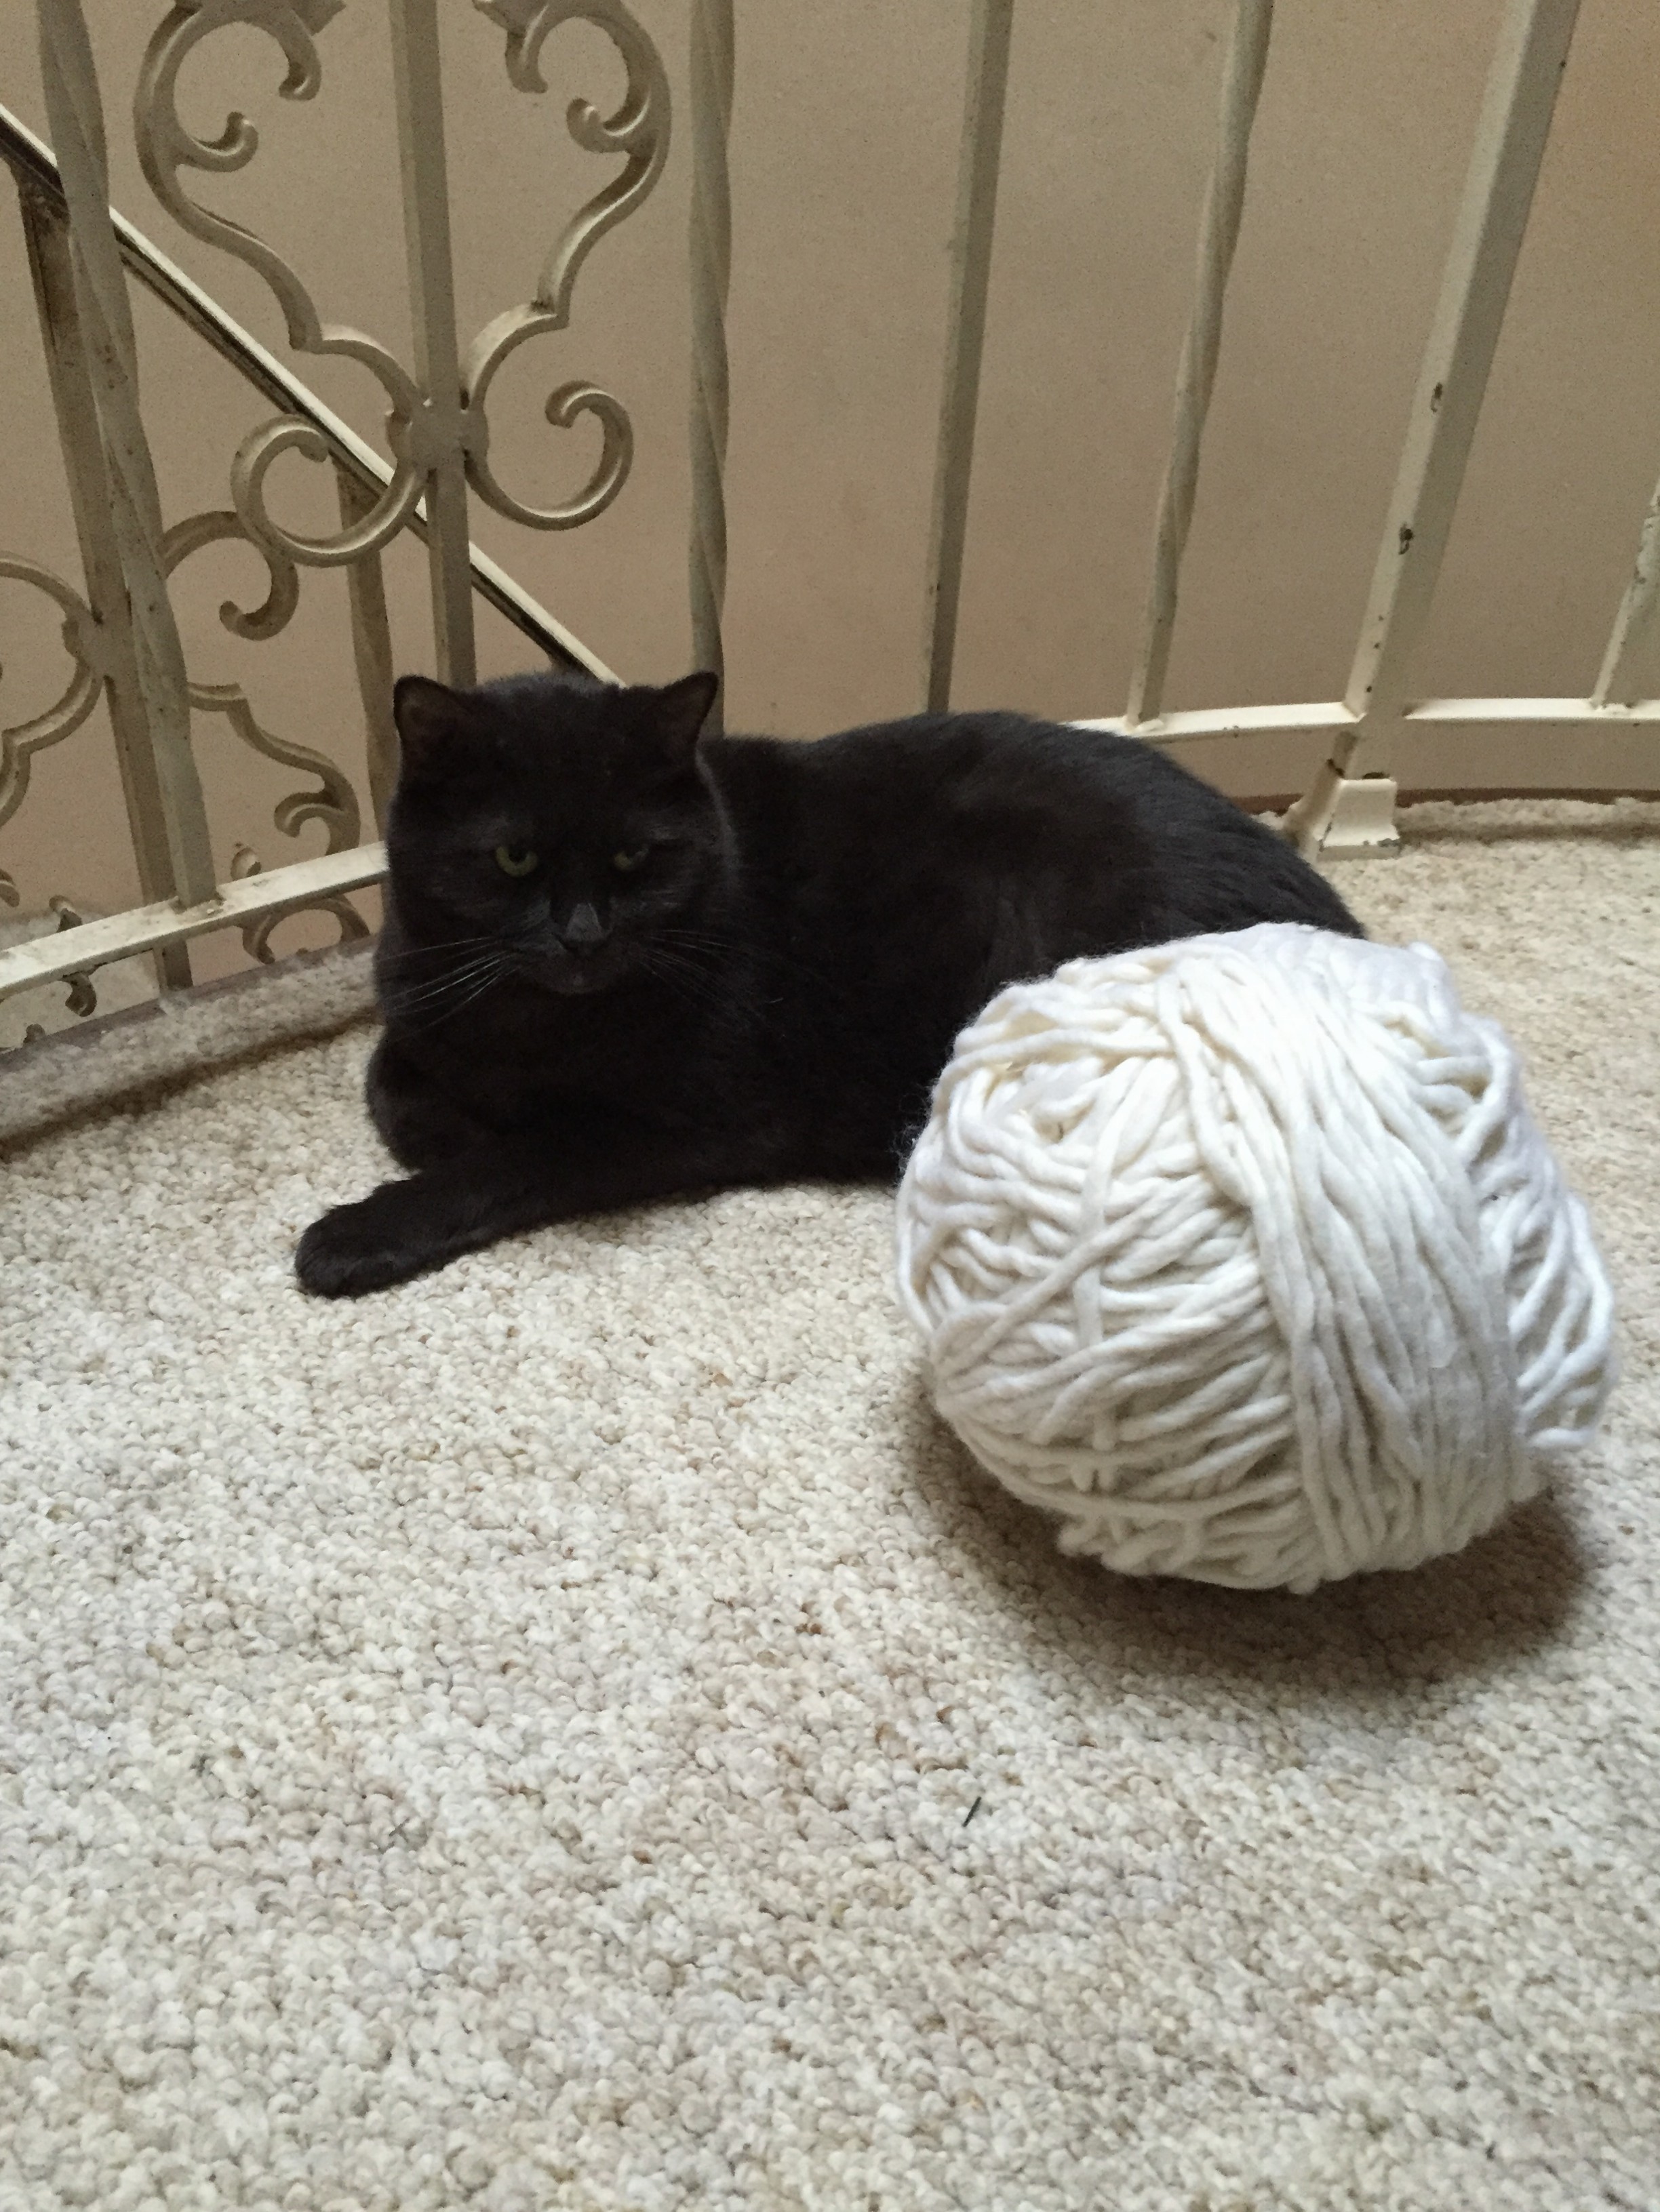
As you know I have been busy!! So busy I haven’t had much time to play with the new Zippy looms even though when I first saw them I thought I have found a perfect match for my monster ball of yarn.
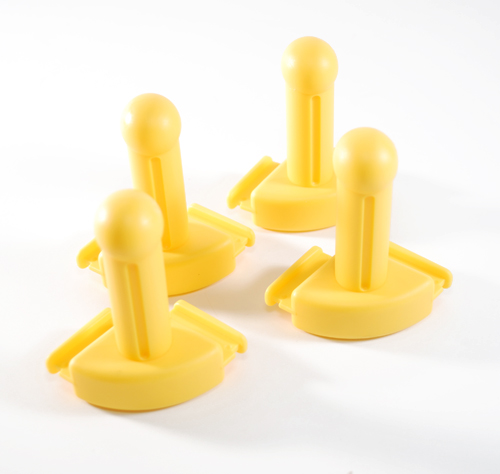
 But I digress! This week Knitting Board came out with a nice little addition to the Zippy loom line; corners!!
 This is great! So now not only can we make flat pieces with the Zippy loom but items knit in the round.
One tip on putting it together, go ahead and put three sides and all four corners like this:
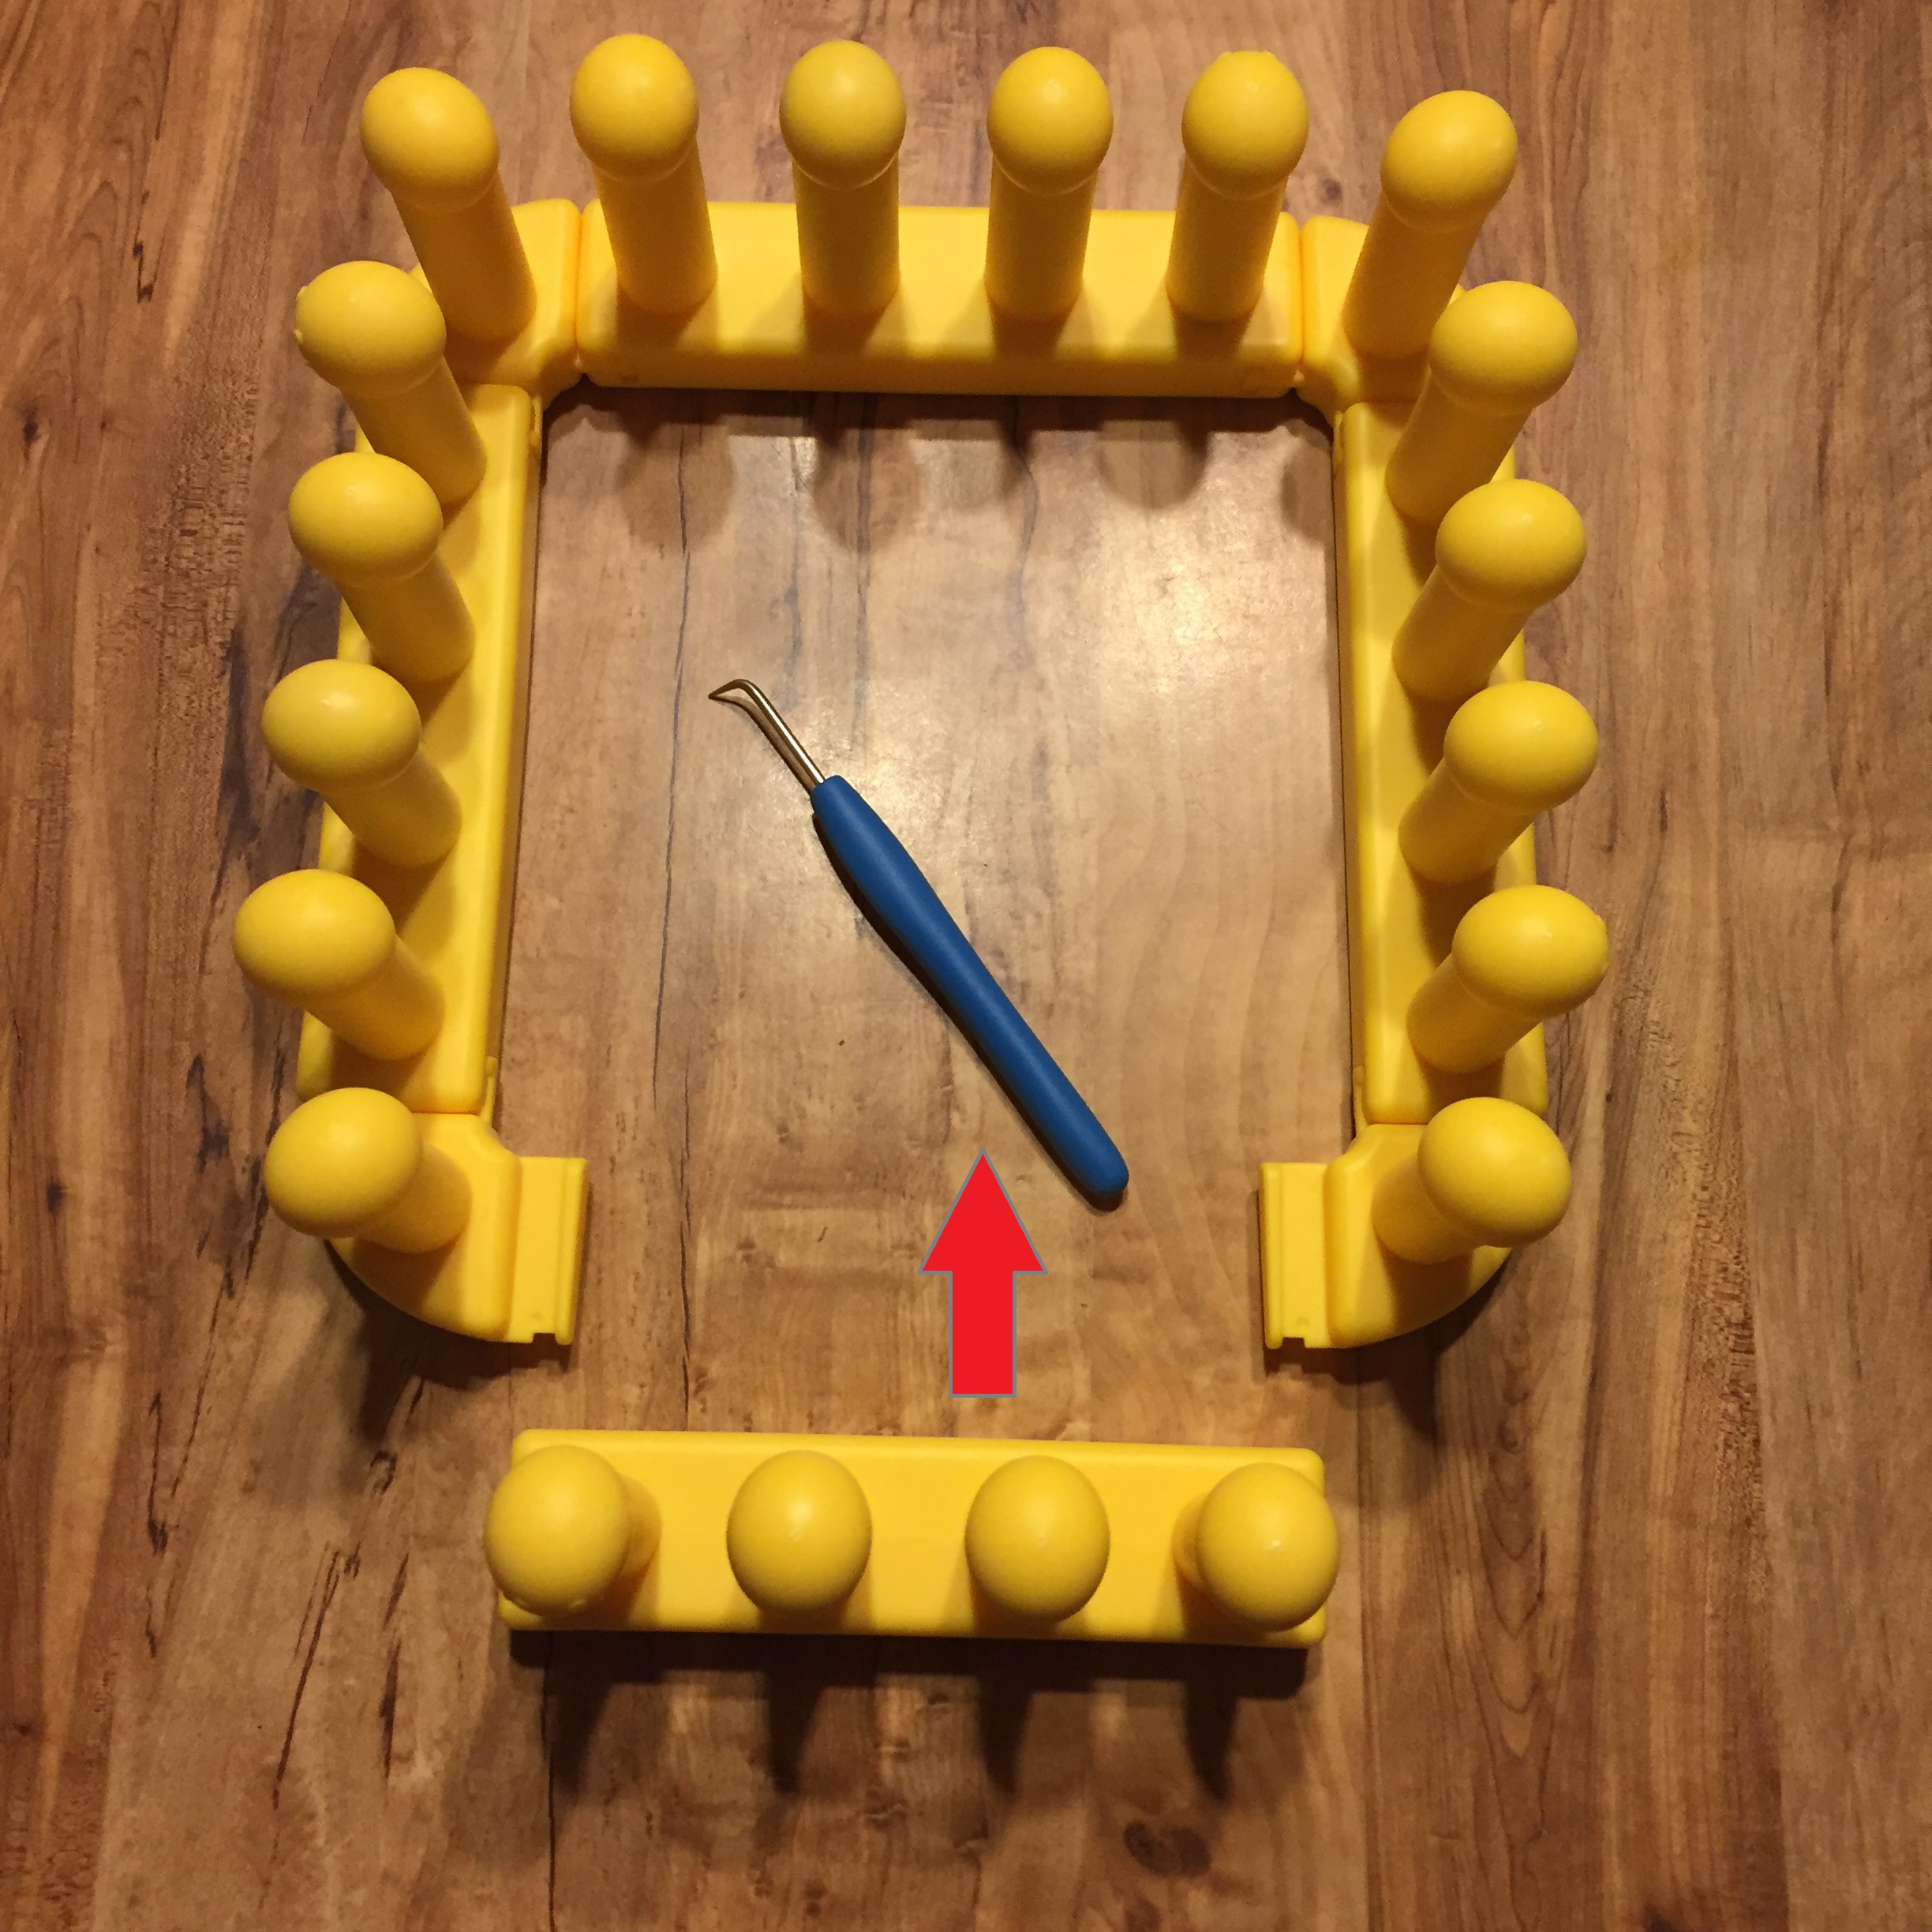 Then the last side should be slid in from the front like shown. The KB Looms logo will be on the outside edges of the loom, and there are some small arrows at each end of the side pieces will be on the inside of the loom.
So of course I had a little fun with this new toy!
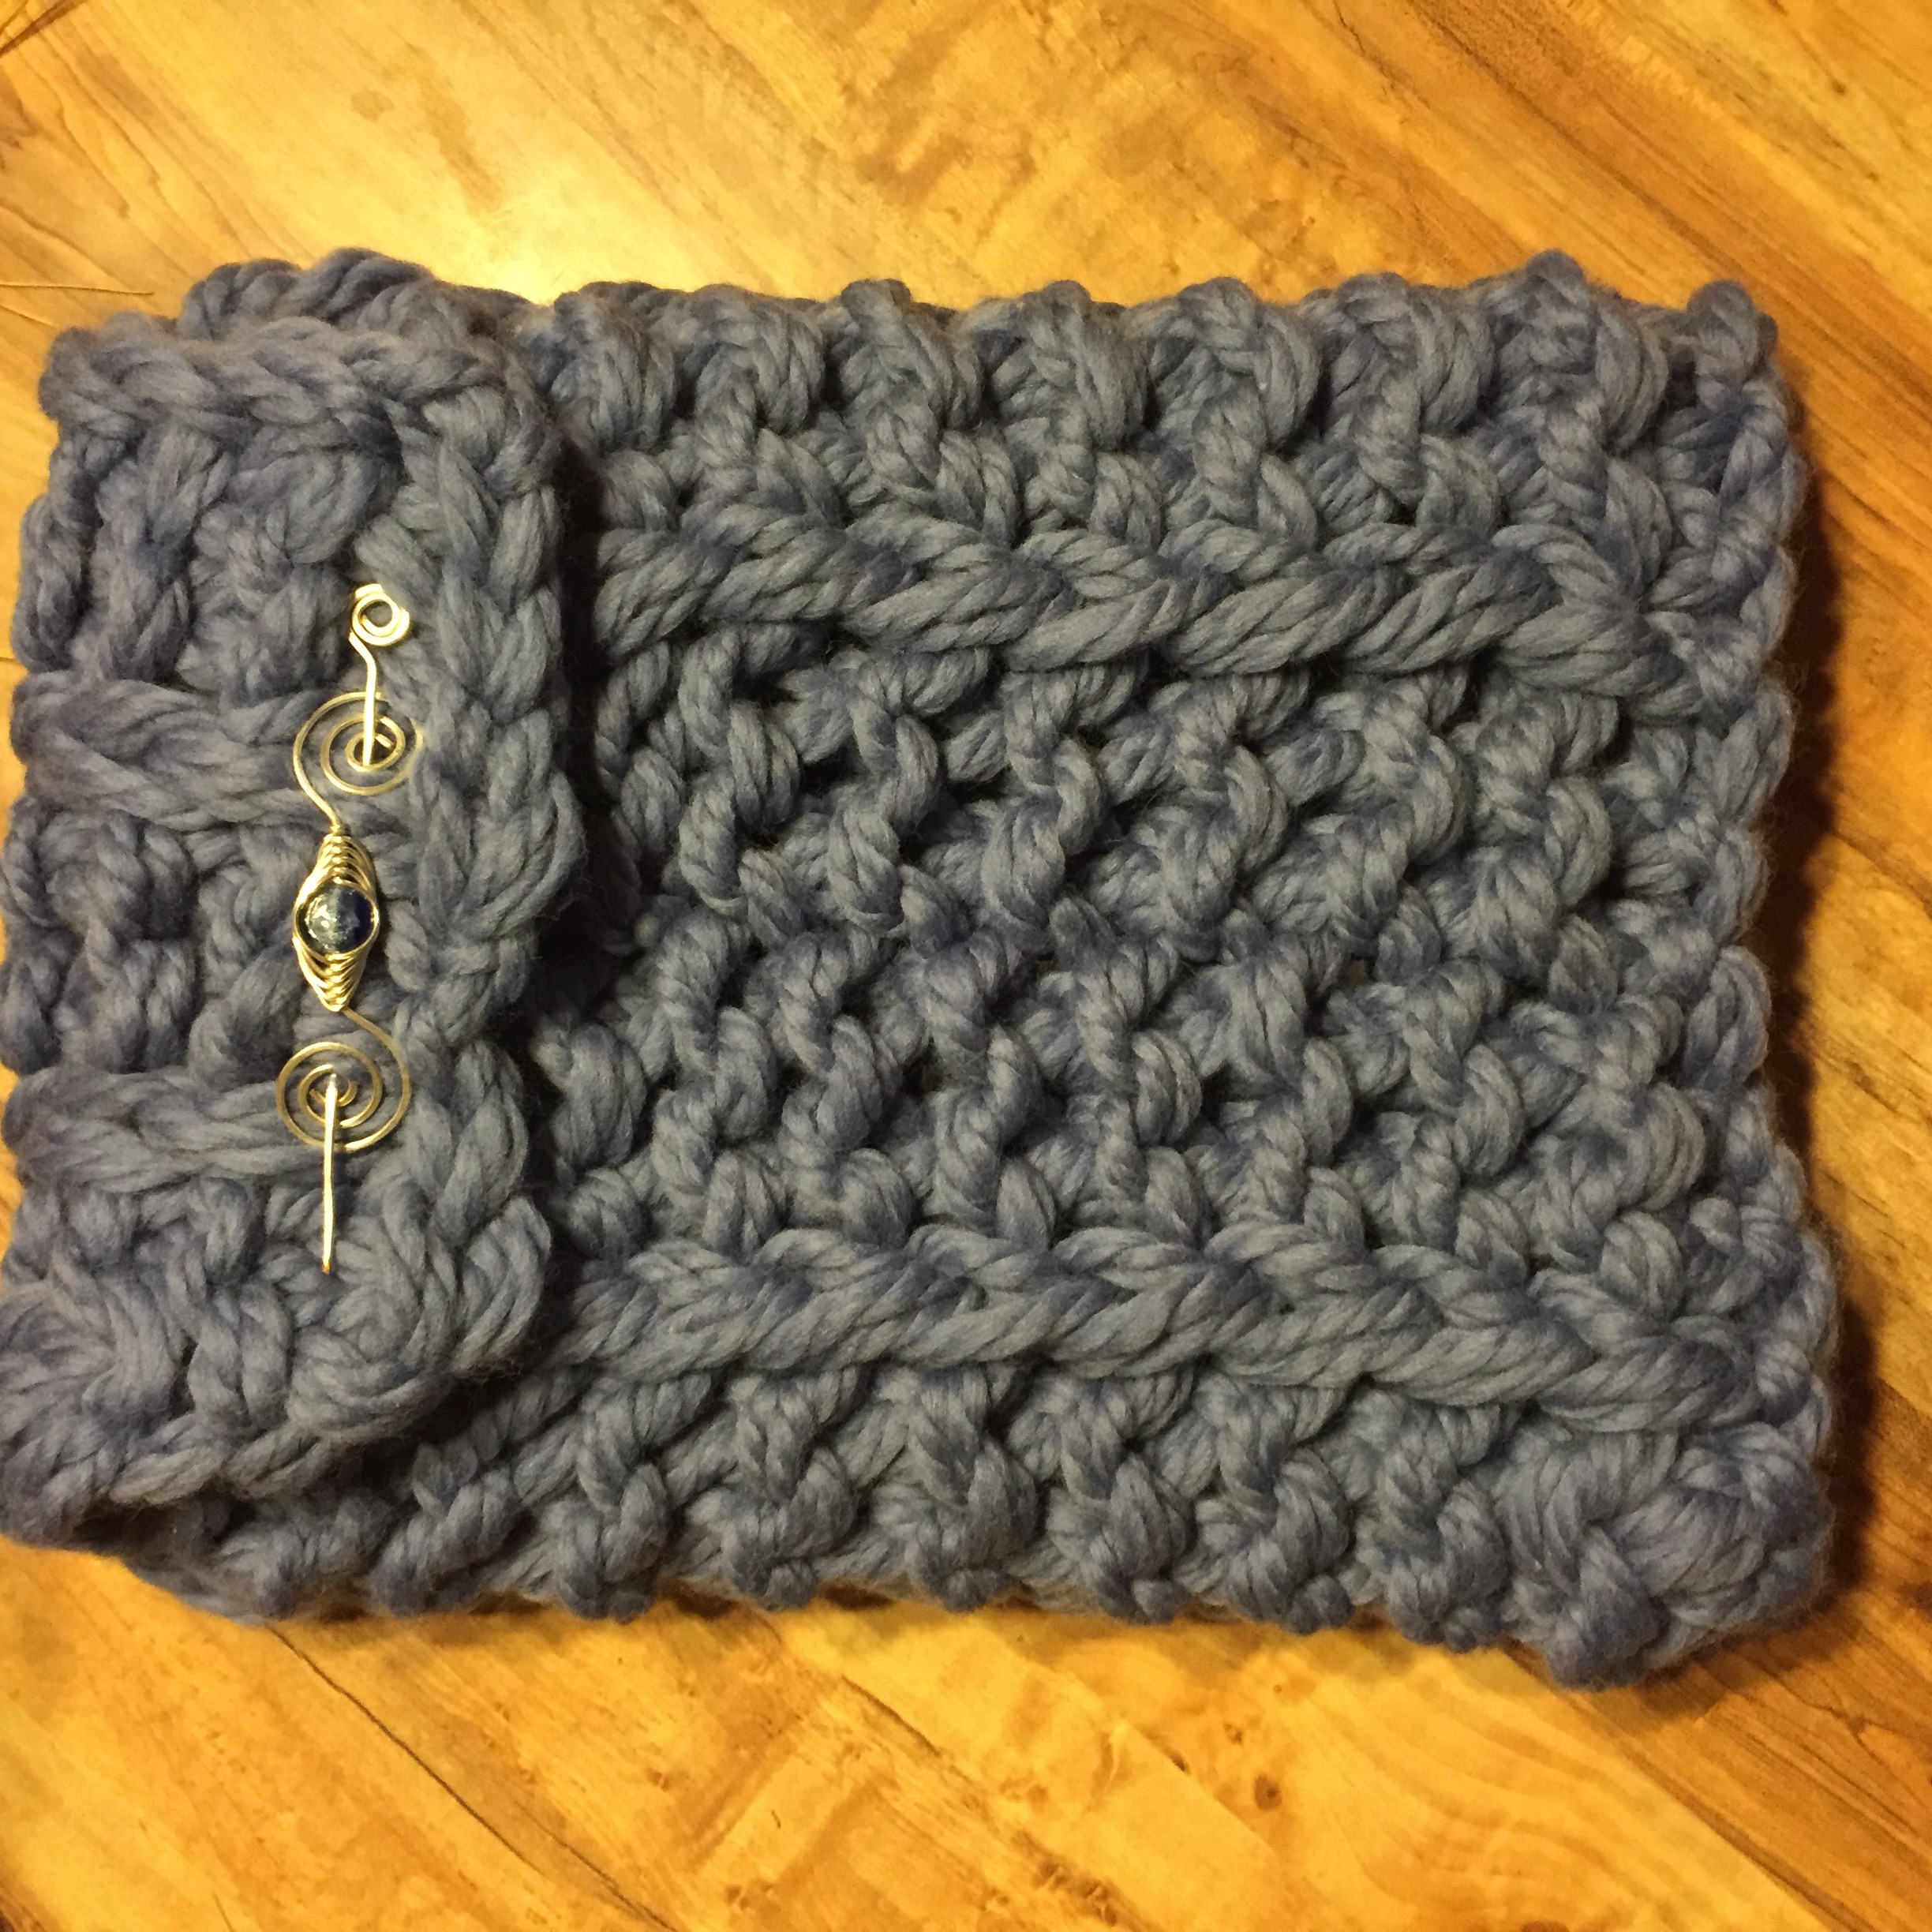
I made a little tablet cozy, easy peasy. It took me about 45 minutes.
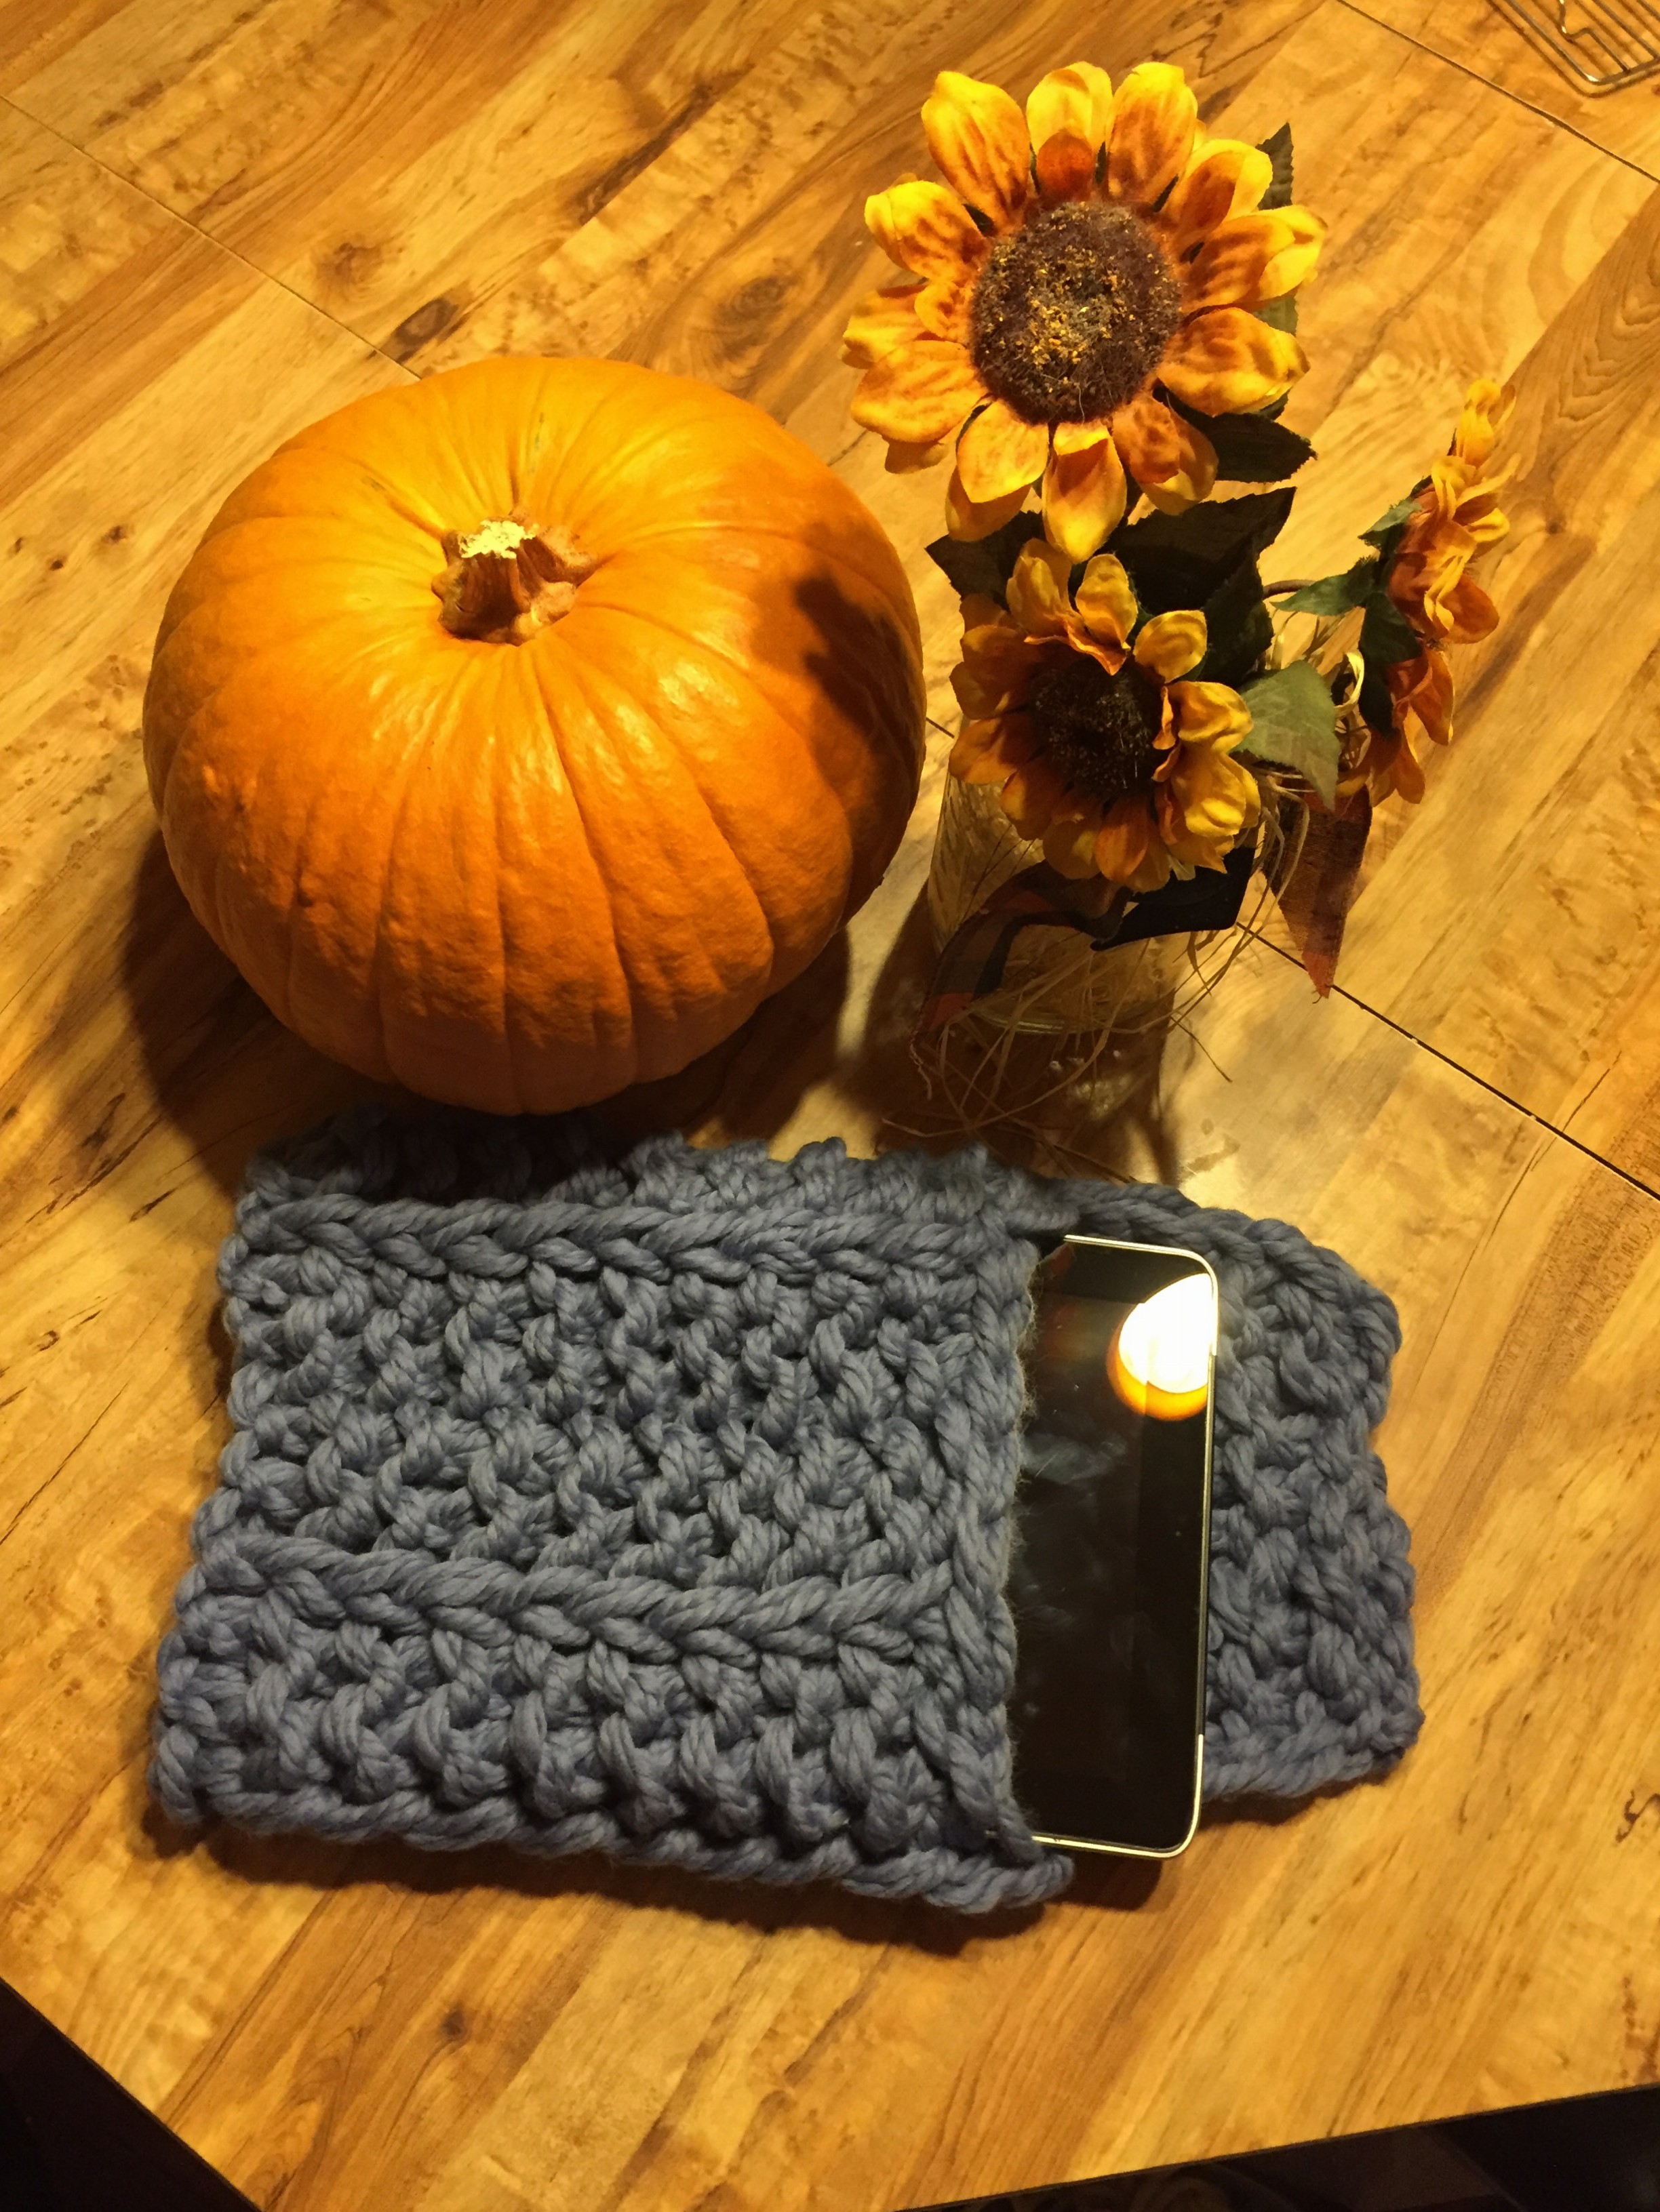 This is just a little garter stitch with some slipped stitch action! I love slipped stitches, they give a little fun texture to a piece and are super easy.. you just take the working yarn behind the peg and skip that peg.
I used my one shawl pin to close up my cozy, but you can add buttons if you like and with these big stitches you don’t need to make button holes.
 So here is how you make it:
Materials
4 Zippy looms
1 set of Zippy loom corners
100 yards of bulky yarn
Loom tool
Optional:buttons or other closure hardware
With yarn held doubled, cast on 20 stitches.
Round 1: Knit all stitches
Round 2: *Purl 2, skip 1 repeat from * to last two stitches purl 2
(Note: I recommend marking the pegs that you will slip as this will help when making the flap)
Repeat these two rows until the piece is the desired length to keep your tablet cozy ending on row 1.
Next row, knit 15 stitches, bind off 10 stitches,10 stitches remain.
Next row: Purl 1, skip 1, work in pattern slipping the marked pegs until the last stitch, Knit and turn to start next row.
Next row: Slip the first stitch and knit to the end of the row.
Continue in pattern, as for the body of the bag, until the flap is about 4 inches long ending with row 2.
Bind off all stitches.
Weave in the ends
Sew the bottom of the bag together
Add buttons if desired!
I hope you enjoy this little pattern and the Zippy loom corners as much as I do. I see quite a few fast knits in my future!
But as Levar Burton always says on Reading Rainbow, don’t just take my word on it! A few of my friends have tried out the new Zippy Loom corners and written up some patterns for you to enjoy:
Isela Phelps has a few goodies here!
Bethany has an adorable fall hat here!
Leave a Reply