In my sweater the main stitch pattern was a eyelet garter ridge.
This is really easy to do on a knitting loom. I gave it a try.
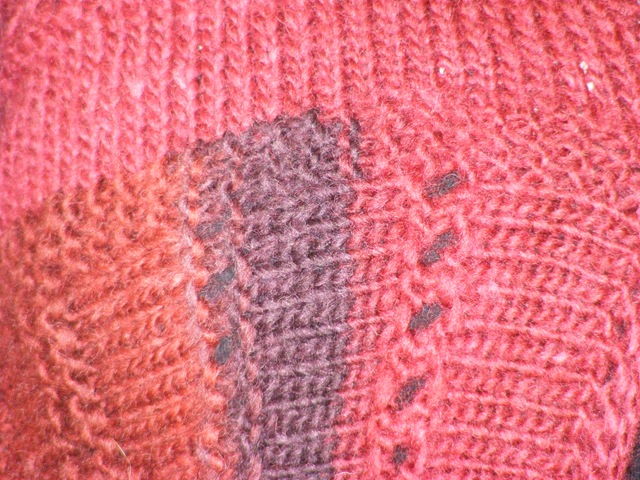
(This is a photo of what the stitch looks like.. my loom knit swatch is still missing!, but it did look like this! So Sorry!)
Here’s what I did:
Rows 1-10 knit! (It is probably better to use a tighter knit stitch, rather than the e-wrap… like this one… or this one)
Row 11: Purl
Row 12: Starting at the left side of the piece move every other loop over to it’s neighbor on the left. you will have every other peg empty, and the others with 2 loops on them. Purl all the pegs with two loops, purling the two loops together, and in between E-wrap the empty pegs (this creates a yarn over ie. eyelet hole!).
Row 13: Purl
Repeat these 13 rows as long as you want to!
Notes: it helps to have an odd # of stitches so you have on edge stitch on each end of the eyelet row that is purled.
This can be done in the round, or as a flat piece, but again you want that one odd man out stitch so that you have a purled stitch between each eyelet hole.
You don’t have to do 10 rows between each set of eyelet ridges, make them as far apart as you like. I could see this as an edging near the bottom of a sweater, or sleeves or even a hat!
Have fun with it!
Leave a Reply