![]()
Let’s face it! It is still chilly outside! And when it is cold it’s important to stick a hat on your head and keep your ears warm!! What better way to keep your ears warm than some clever ear flaps on your hat!
*
Now how to do it. As I thought about that I figured there was more than one way to get the job done. So we will look at three ways to do it! And these principles can translate to needles too , though I will be sticking to my roots and showing these techniques on the knitting looms. I will be covering these it separate posts as it seems that to get this all together at once is impossible especially when I keep thinking of different better ways to do this!! I will pop them all together in a pdf when the series is done!
- Starting with the earflaps and working your way up.
- Starting at the top and making the earflaps last.
- Somewhere in between!
To start with the earflaps and work your way up.. you can make an I-cord to tie your hat on (or not) I usually work a 3 stitch I-cord. Once you have your I-cord made you start to work as for a flat piece and increase 2 stitches at each end of the row every other row till you have the ear flap as wide as you want.
Then keep knitting till you get it as long as you want. Now, break yarn, look across your loom and start again with the center stitch directly across from the center of your finished earflap.
Then once you are done with your earflaps you simply work your way around your loom and make your hat, your usual way!

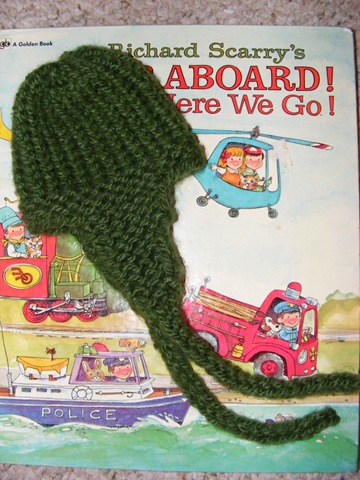
In this sample I used a garter stitch earflaps and brim. It is best to use this sort of brim or even a ribbed brim so that that edges between the earflaps will not curl!
Some things to keep in mind:
- if you make your earflaps in stockinet stitch the edges will curl. so if you don’t want this to happen work your earflaps in garter stitch!
- It seems to me that baby ears are set more toward the front, so you might want to place them closer to the front.
- Older ears seem to sit in the middle so center the earflaps for older than baby ears.
- If you are making your earflaps a different color than the rest of your hat be sure to match the type of yarn.. you sure wouldn’t want to go and wash your hat in the washer and have your ear flaps felt on you!!
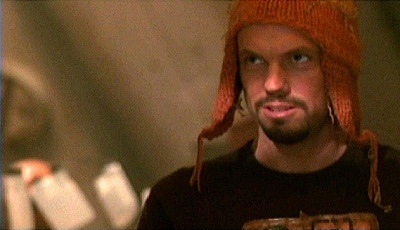
* of course this is THE most clever earflap hat ever.. Jayne Cobb’s hat from Firefly!
I might use the earflap up method for this one.. dispensing with the i-cords and making the earflaps on the wider side..
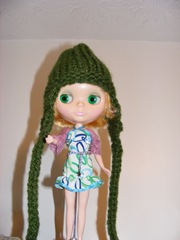
“I think my hat is quite clever.. thank you!” says Claire.
Technorati Tags: free knifty knitter pattern,earflap hat pattern for knifty knitter,blythe hat,blythe hat pattern
Leave a Reply